How to Connect to Reckon
This article describes how to set up the sync between Reckon and CreataCRM.
Make sure the LGB file is deleted
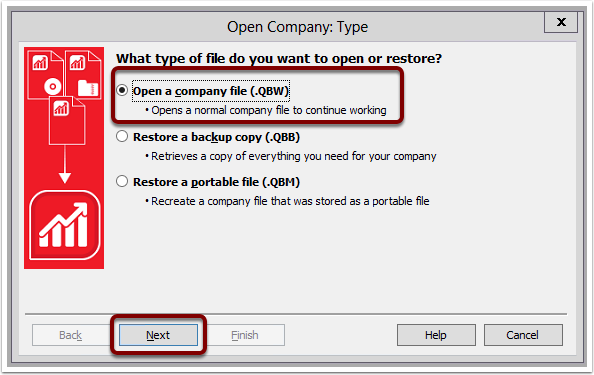
In Reckon, reach the screen where you choose a company file to open, then click Open or Restore an existing company

Make sure the Open a Company file option is selected, then click Next
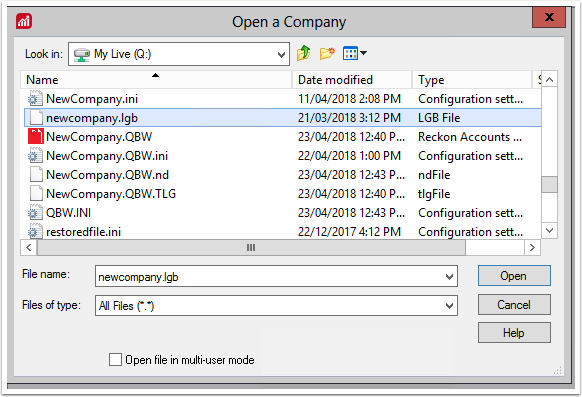
In the file select window, look for a file with the .lgb extension for your company file. It will have the same name as your company file but may be all lower case. If the file is present, hover the mouse cursor over it to select it and press the delete key.
Make sure there is no integration already set up with CreataCRM
If this is the first time you've attempted to set up the connection, you can skip this step.
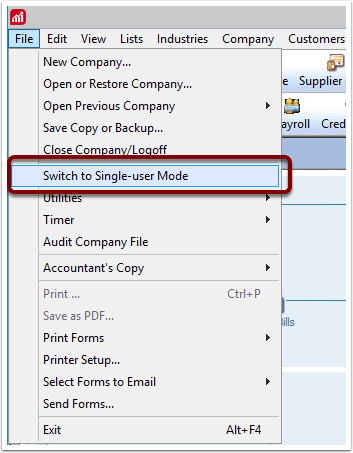
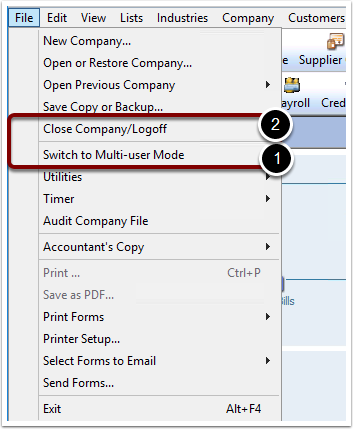
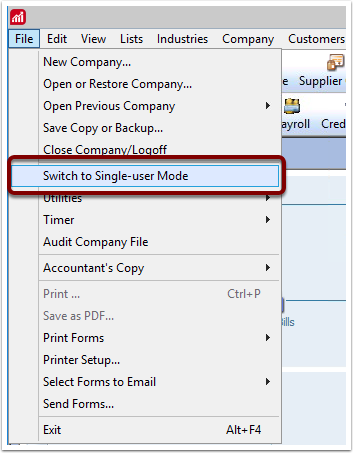
Open the file, switch to Single User Mode (if you're not already) by going to the File menu > Switch to Single-user Mode
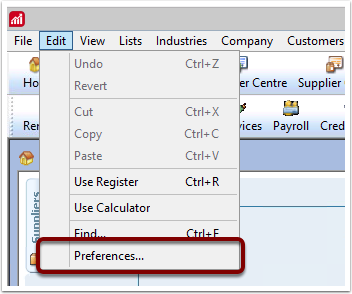
Go to Edit > Preferences

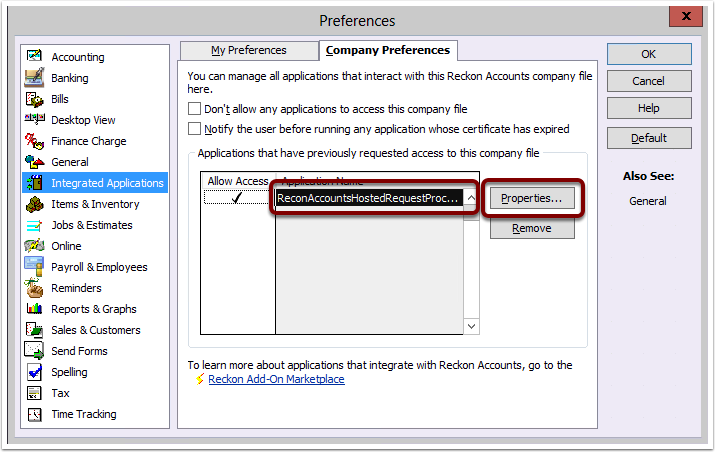
In the left menu of options, choose Integrated Applications, and then the Company Preferences tab.
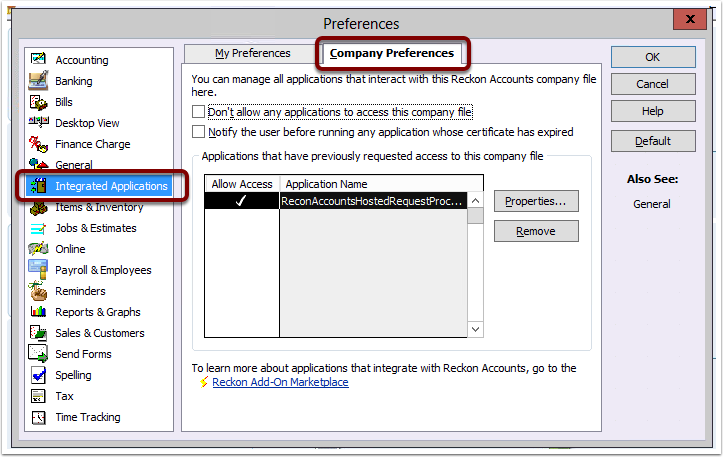
This will show a list of all application which have been allowed access to the Reckon file.
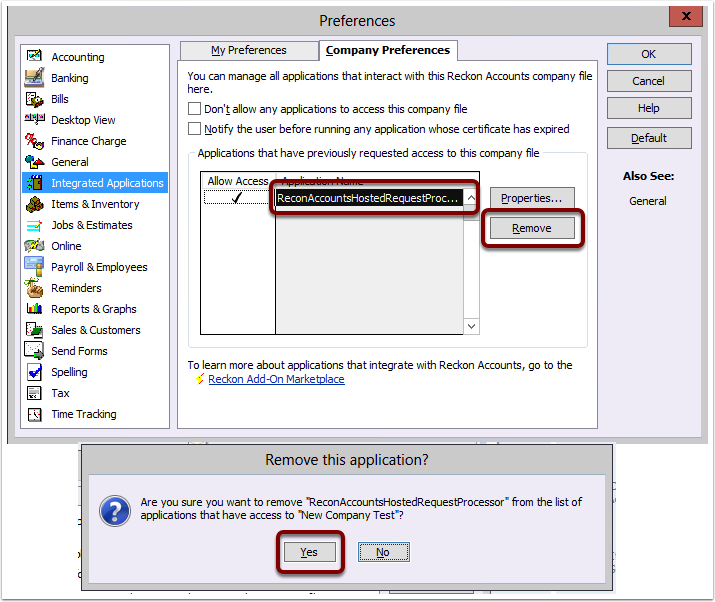
In here, delete the "ReconAccountsHostedRequestProc..." entries. There may be more than one. Please be aware that these may also be used by other application connecting to Reckon other than CreataCRM, but we still recommend deleting all of these entries.
To delete the entries, click the entry then click the Remove button.
You'll be asked to confirm the deletion, please click Yes.
Please make sure to put the file back into Multi-user mode, then log out of the file.
Setting up the Creata Sync
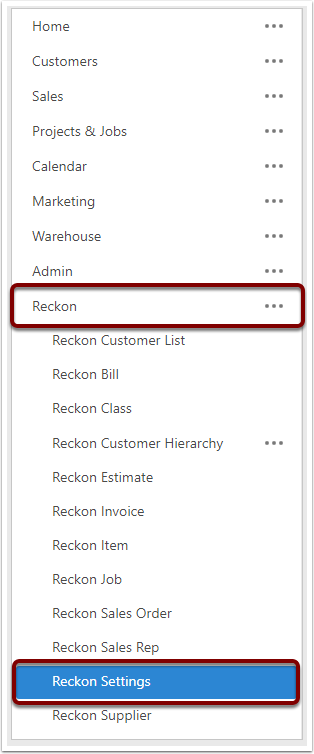
In the navigation, expand Reckon, then click on Reckon Settings.
Connect
Before connecting please make sure of the following:
- The company file is in Multi-user mode
- No-one is logged in to the file using the Admin user
Make sure company file path is correct, check shares are correct if any
Initial connection MUST use the Admin user of the file.
Click Connect when ready. A popup will appear, please allow the popup to be shown.
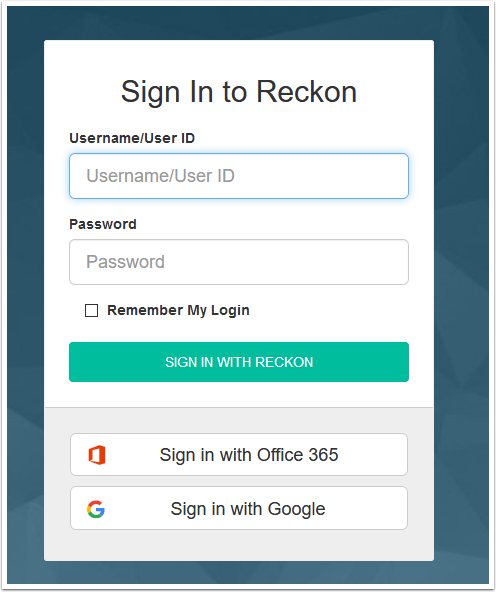
Identity Server
User ID is required (eg 1234567-1)
If it's the first connection you'll be asked for permissions, allow all and confirm
Connected
You'll see the following in a window

Change the user used to sync with Reckon
Back in Reckon, Log in to the file using the Admin user and put it into Single-user mode.
Create a new user
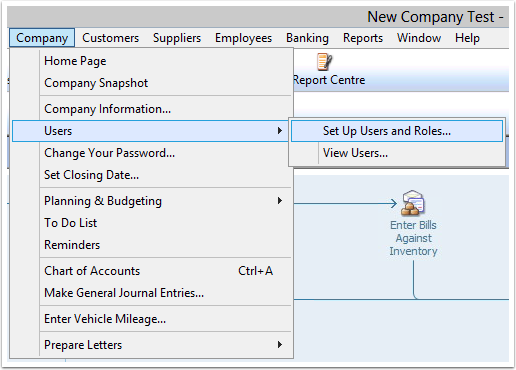
Company > Users > Set Up Users and Roles
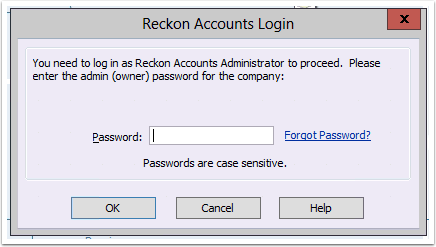
You'll be asked to re-enter the Admin user's password.
In here, add a new user.
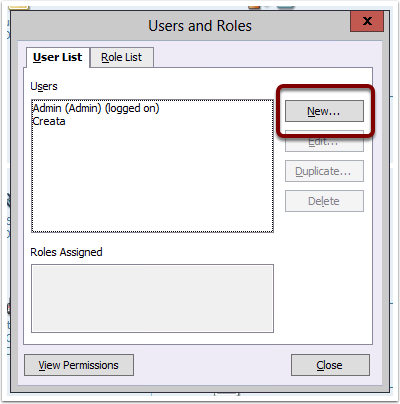
Name the user, provide a password and assign them the Full Access role.
Please be aware that despite what the field says, a password is required for the user that is used for the sync.
When the user is set up, click OK, then close the Users and Roles window.

Change the sync user
Go to Edit > Preferences
In the left menu of options, choose Integrated Applications, and then the Company Preferences tab.

You will need to click on the ReconAccountsHostedRequestProc... entry, then click Properties.
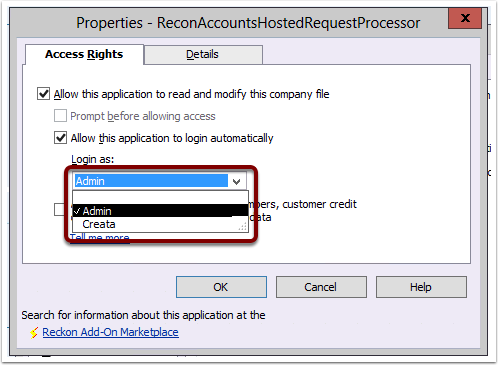
In the new window, change the user in the "Allow this application to login automatically" option to the user you want to use, then click "OK" on the open windows to close them.
Change the Credentials inside CreataCRM
Edit the Reckon Settings screen and change the File User Name field to the user selected for the integration previously.
When this is changed, click the Save button.
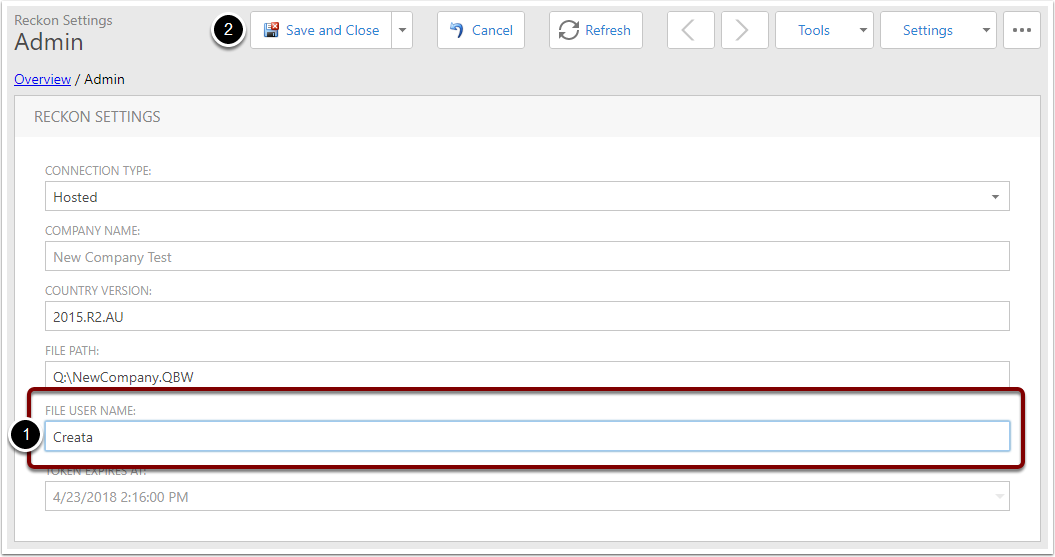
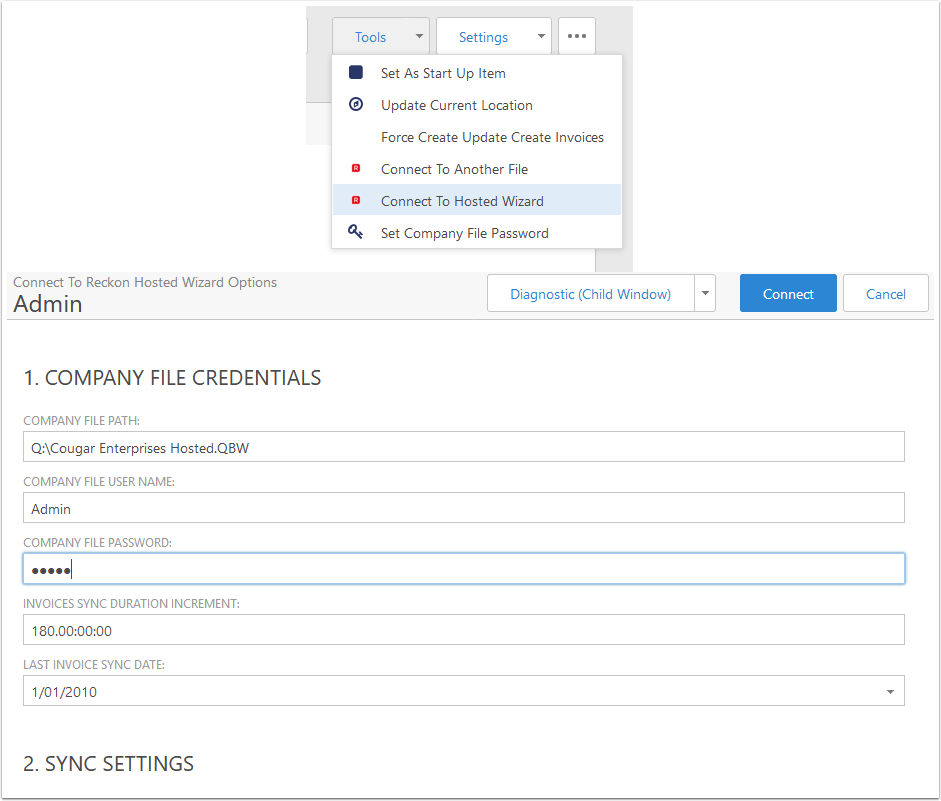
You'll also need to change the password used to connect - in the Tools menu choose Set Company File Password.
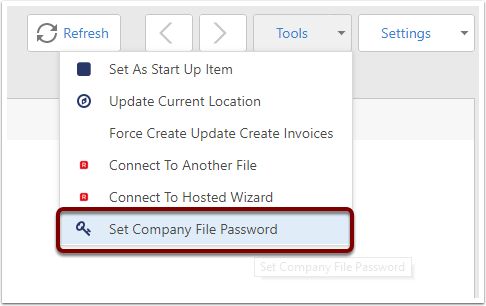
Enter the user's password then click OK.

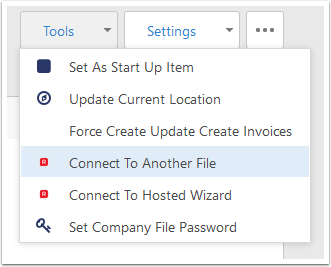
To connect more files
On the Reckon Settings view
For each one, Tools > Connect to Another File
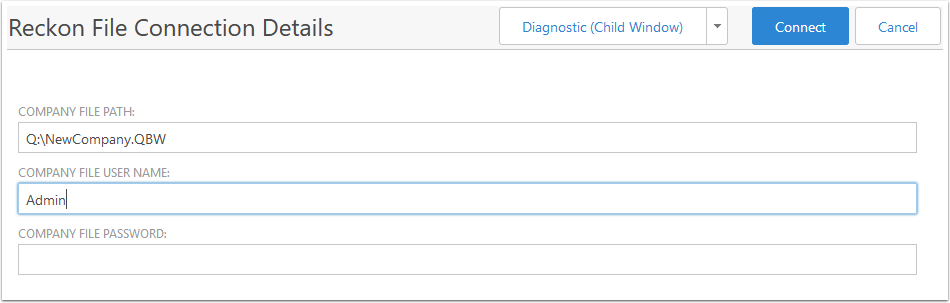
Set path
Before connecting please make sure of the following:
- The company file is in Multi-user mode
- No-one is logged in to the file using the Admin user
Again make sure path and shares are correct
Extra Files are matched by File Path, so if you're reconnecting to a file it will update the tokens for the file with a matching path if there is one
The initial connection must be done with the Admin user
Please be aware that this has only tested with files on the same account - it will probably work for files on another account but this has never been tested. If you attempt this you will need to clear the identity server cookies
Click Connect when ready
Identity Server
User ID is required (eg 1234567-1)
If it's the first connection you'll be asked for permissions, allow all and confirm

Connected
You'll see the following in a window